

近代都市では電線が地中に埋められ電線の無い空を見ることができます。
けれども、昭和の初期から中期という時代は、そういう美観への意識よりは、とにかく高度経済成長への意識が強かったように思います。
見た目の美しさより、まずは電気!電気が各家庭でバンバン使えるようにすること!
そんな気風があったのかもしれません。
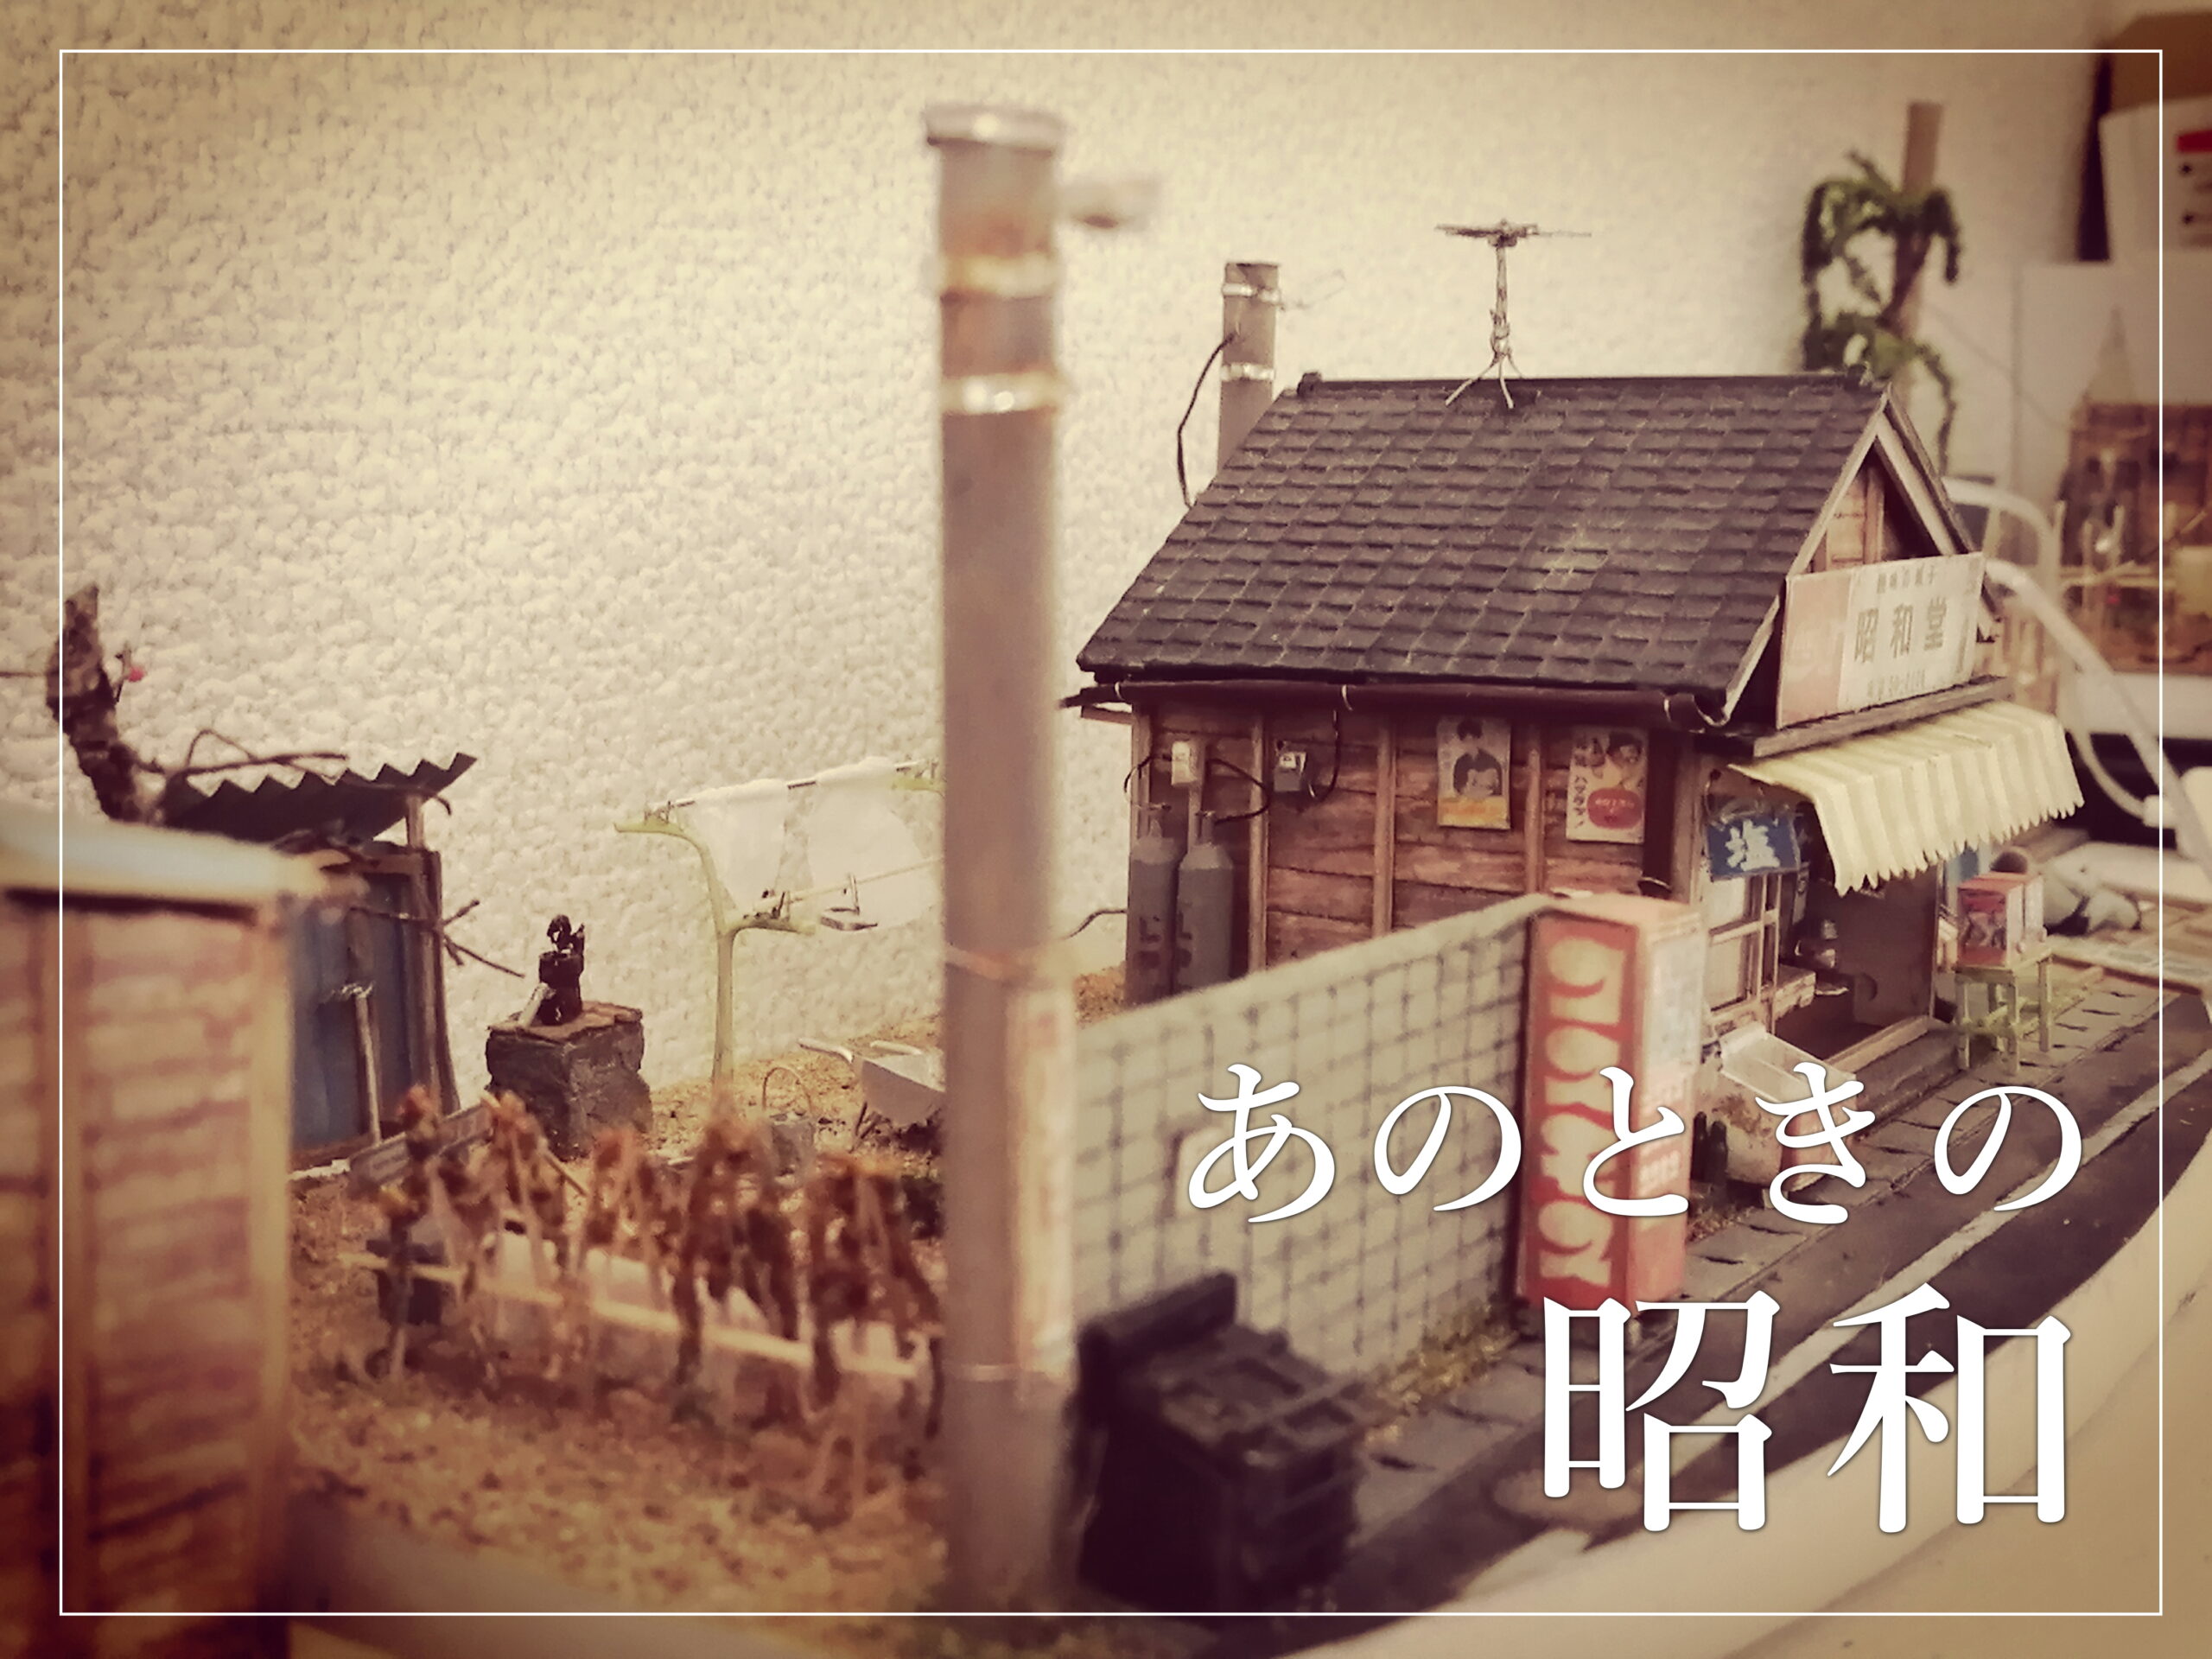
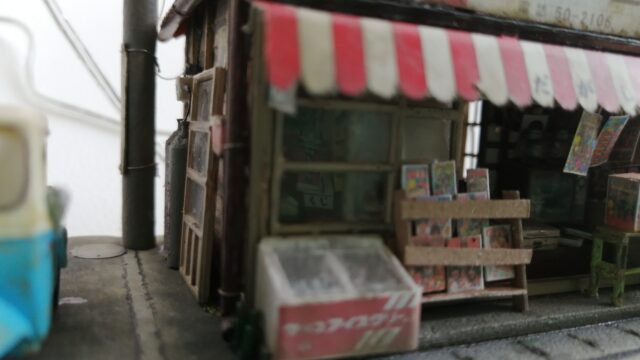
見上げれば電線だらけ。
電信柱もコンクリートや木製があり、1本で立っているものもあれば寄りかかるように支えているものもあり、そんな風景が今では懐かしく感じられます。
In modern cities, electric wires are buried in the ground and you can see the sky without electric wires.
However, that was not the case during the early to mid Showa period.
I think there was a strong awareness of economic growth rather than the beauty of the town.
Infrastructure development was the top priority over the beauty of appearance.
When I went outside and looked at the town, it was full of electric wires.
Telephone poles are also available in concrete and wood.
Some stand alone, while others support them to lean against.
I feel nostalgic for such a landscape now.
コンクリート電柱の作り方
How to make a concrete utility pole
詳しくは動画をご覧いただきたいのですが、まずは用意するものは以下の通りです。
I would like you to watch the video for details, but first of all, the following items are prepared.
準備 Preparation
- 紙製のストロー Paper straw
- グレーのスプレー Gray spray
- 昔の電柱看板画像 Old telephone pole signboard image
- アルミの板 Aluminum plate(0.2~0.3mm)
- その他道具 Other tools
電柱の作り方 How to make a utility pole
- 紙製のストローをグレーのスプレーで塗ります。
- アルミの板に電柱の看板画像を貼りつけ切り取ります。
- 切り取った看板の四隅にピンバイスで穴をあけます。
- 看板の穴に細い針金を通します。
- 電柱の適当な位置に看板を置き針金を締めて固定します。
- ウェザリングをして完成です。
これで電柱は完成するのですが、電灯は次のように作ります。
- Apply a paper straw with a gray spray.
- Paste the signboard image of the telephone pole on the aluminum plate and cut it out.
- Make holes in the four corners of the cut sign with pin vise.
- Pass a thin wire through the hole in the sign.
- Place the signboard at an appropriate position on the utility pole and tighten the wire to fix it.
- Weathering is done and it is completed.
This completes the utility pole, but the lamp is made as follows.
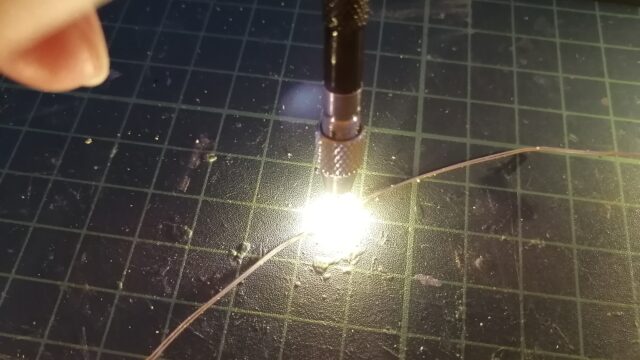
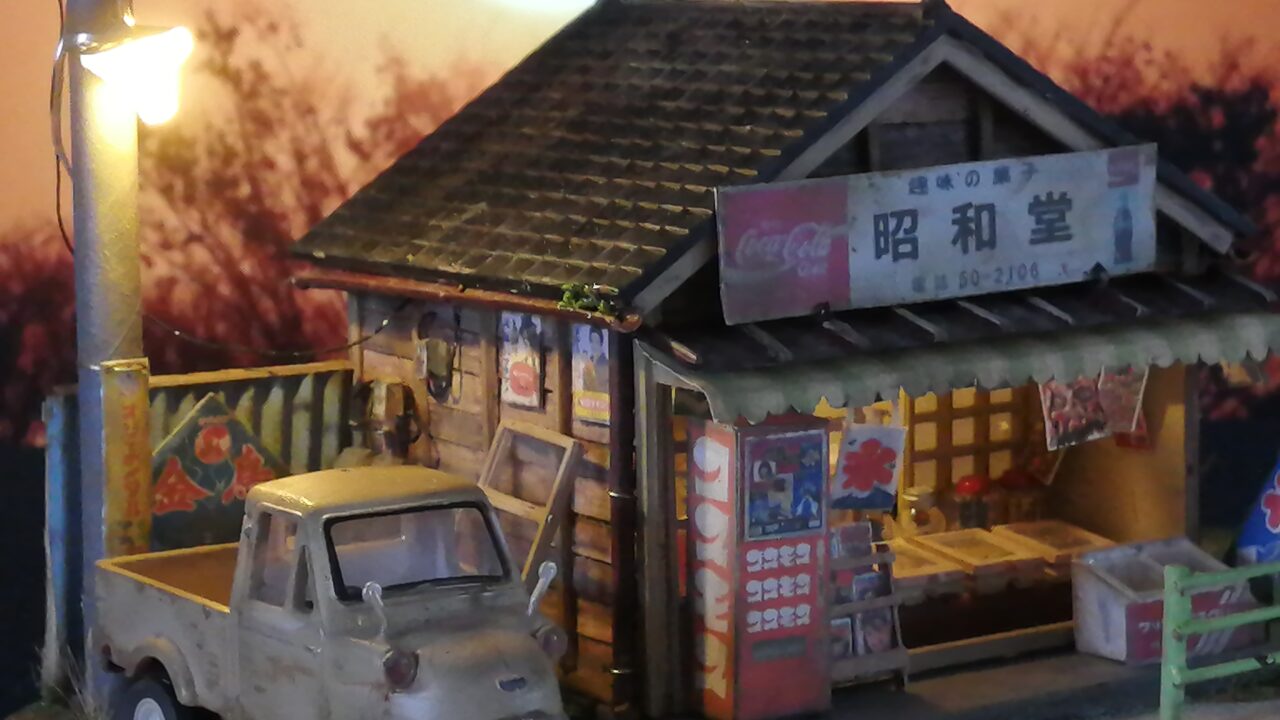
電灯の作り方 How to make a lamp
- 丸く切ったアルミの板の中心に大き目の穴をあけます。
- 中心の穴に向かって切り込みを入れます。
- 中心の穴にLEDの線を通したままアルミを三角錐を作るように丸めます。
- LEDの先にプラスチックの丸い管(3mm)をかぶせます。
- アルミ、丸い管、LEDを接着剤でくっつければ完成です。
工夫する点と言えば、3mmの丸い管を先に汚してからLEDにかぶせることです。
この汚し具合で明るくもなり暗くもなります。
私の場合、裸電球が点いたときの色を目安にしています。
- Make a large hole in the center of the rounded aluminum plate.
- Make a notch toward the center hole.
- While passing the LED wire through the hole in the center, roll the aluminum to make a triangular pyramid.
- Cover the tip of the LED with a round plastic tube (3 mm).
- Attach the aluminum, round tube, and LED with an adhesive and you’re done.
The point to devise is to first stain the 3mm round tube and then cover it with the LED. This stain makes it brighter and darker. In my case, I use the color when the bare light bulb is lit as a guide.
注意点 Important point
クリアケースでジオラマ作品にフタができる場合に注意したいことがあります。
電信柱が高すぎてクリアケースでふたができなくなってしまうことがあります。
最初に寸法をよく図り、そうしたことの無いように注意しましょう。
動画でも説明をしていますので、ご覧ください。
There are some things to be aware of when the diorama work can be covered with a clear case. The telephone pole may be too high and you may not be able to cover it with the clear case.
Measure first and be careful not to do so.
Please see the video for explanation.