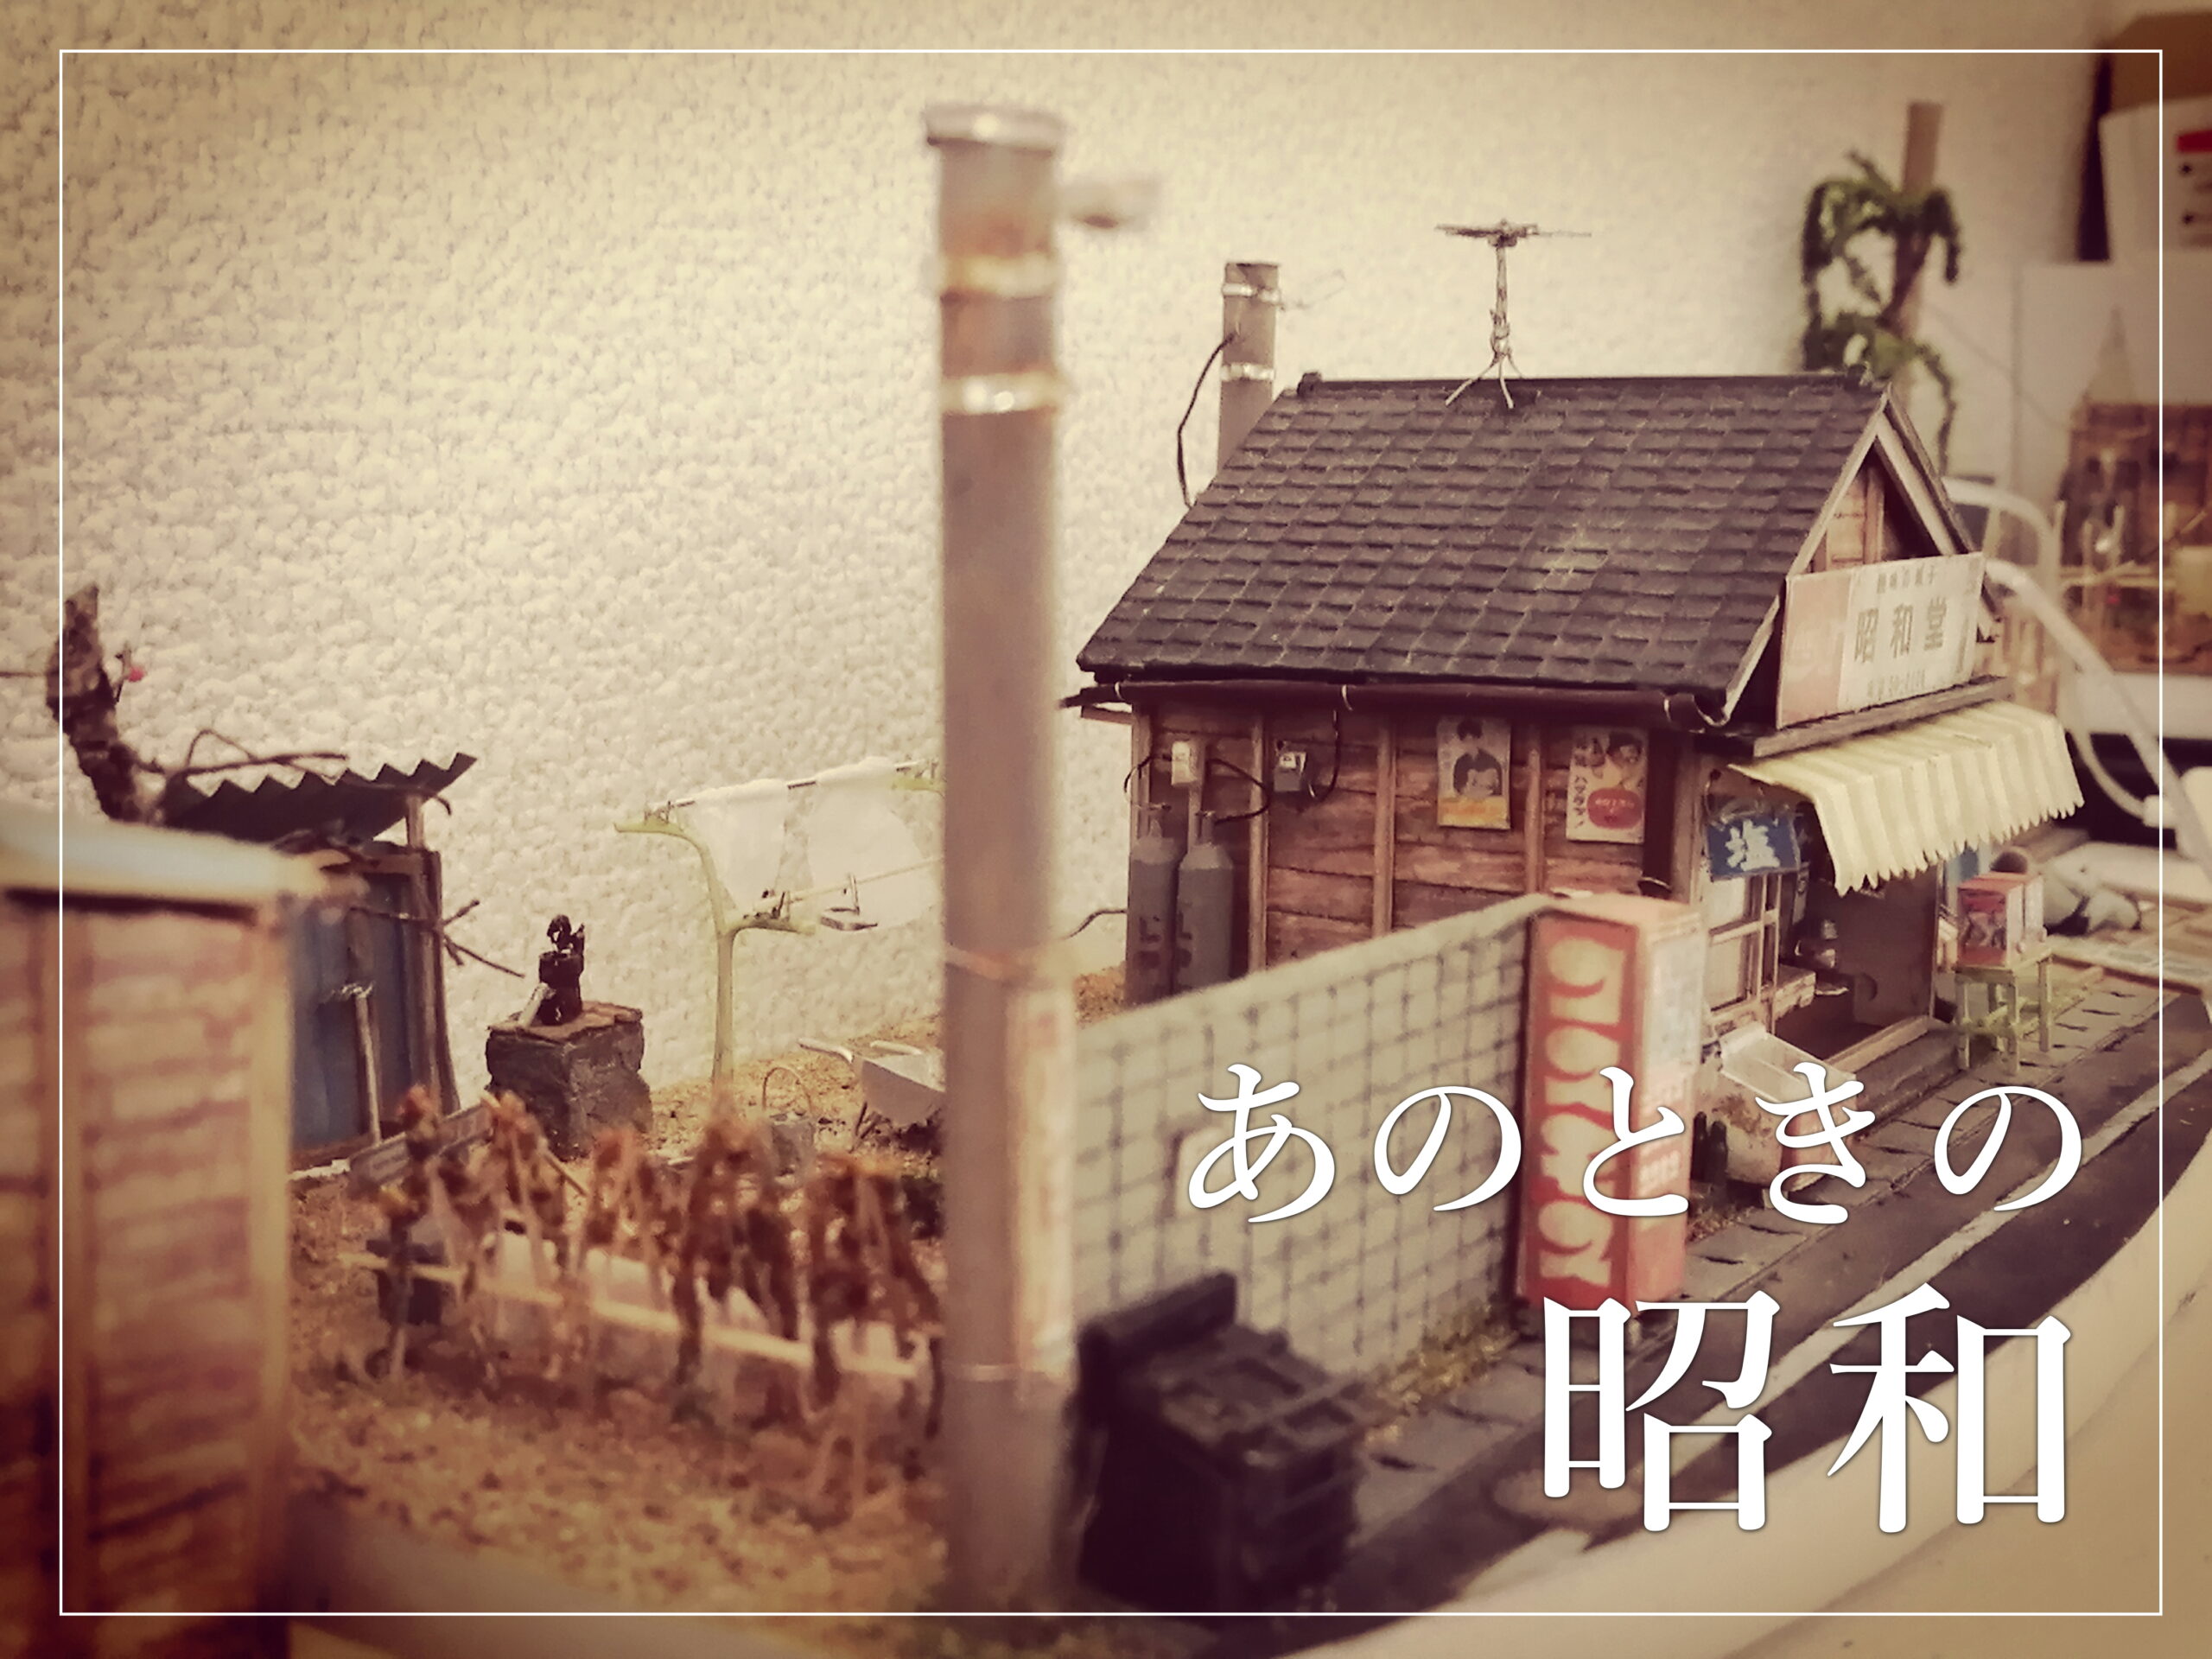
U字溝 U-shaped groove
ジオラマにU字溝があるとリアリティがアップします。
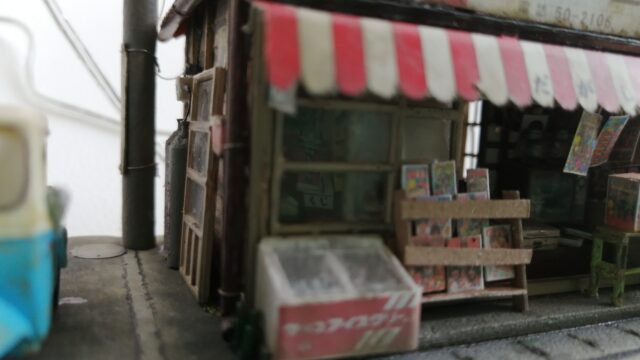
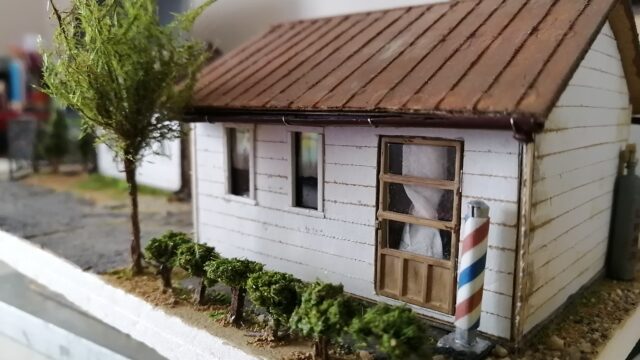
作りかけの画像ですが、U字溝があるだけで懐かしさがアップするような気持になるのは、私だけでしょうか?
When making a diorama, if there is a U-shaped groove, the scenery will look better. The U-shaped groove is a small river for flowing domestic water.
Rainwater that has fallen on the road also gathers and flows there.
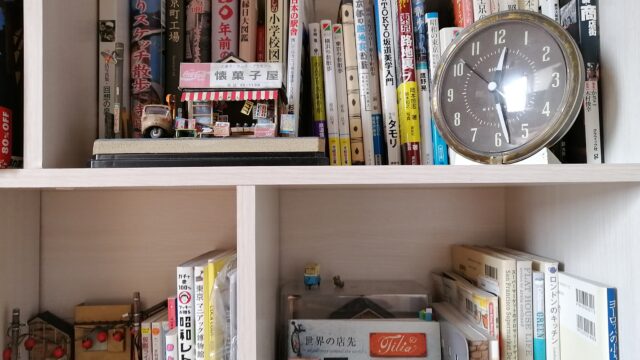
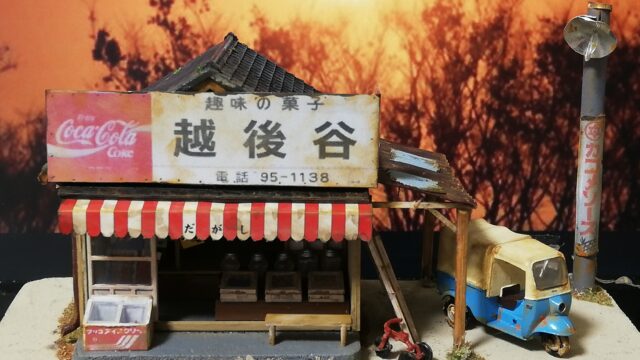
The diorama I make is 1/64 scale.
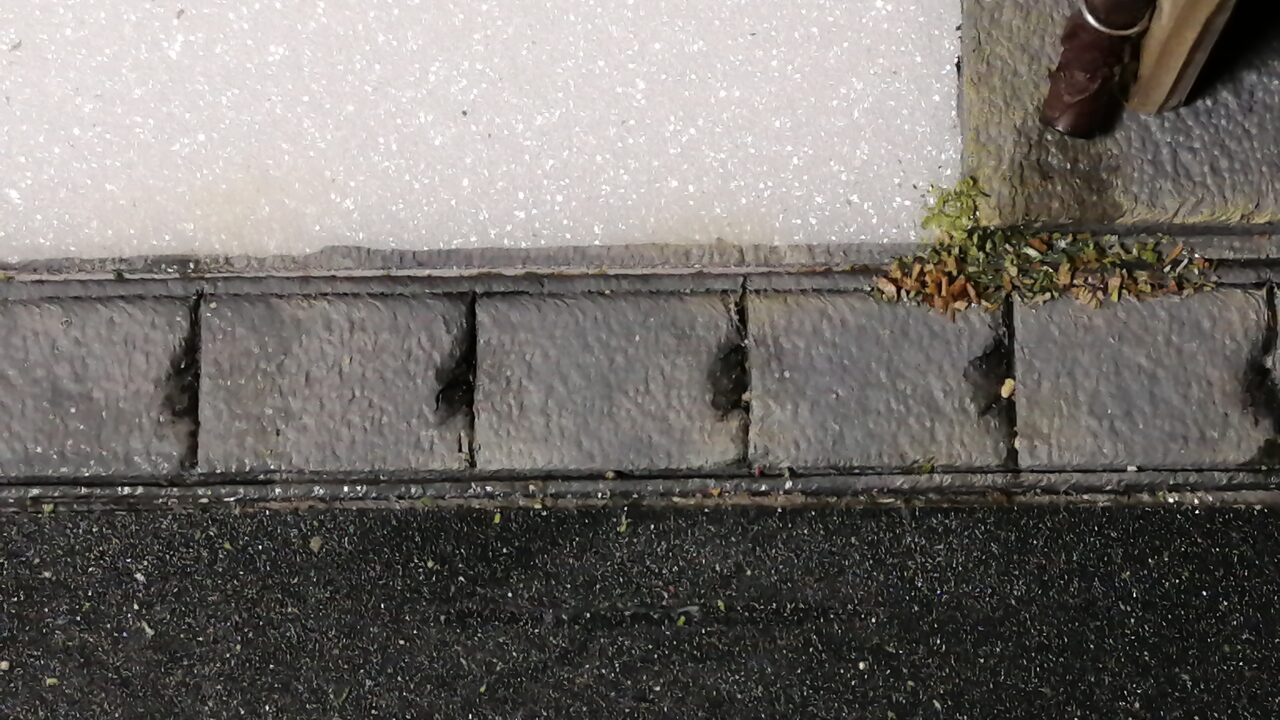
Therefore, if you reproduce the U-shaped groove, it will look like the photo.
Make a notch in one line with a design knife and make another notch in parallel next to it.
It is a failure if the cut lines intersect in the middle.
So I devised it.
In this case, you can make cut lines in parallel.
I attached two design knife blades.
A thin receipt folded once is sandwiched between the blades.
Thanks to that, the work is done faster.
Thank you for your continued support.
I am writing with translation software, so please forgive me if there are any rude expressions.
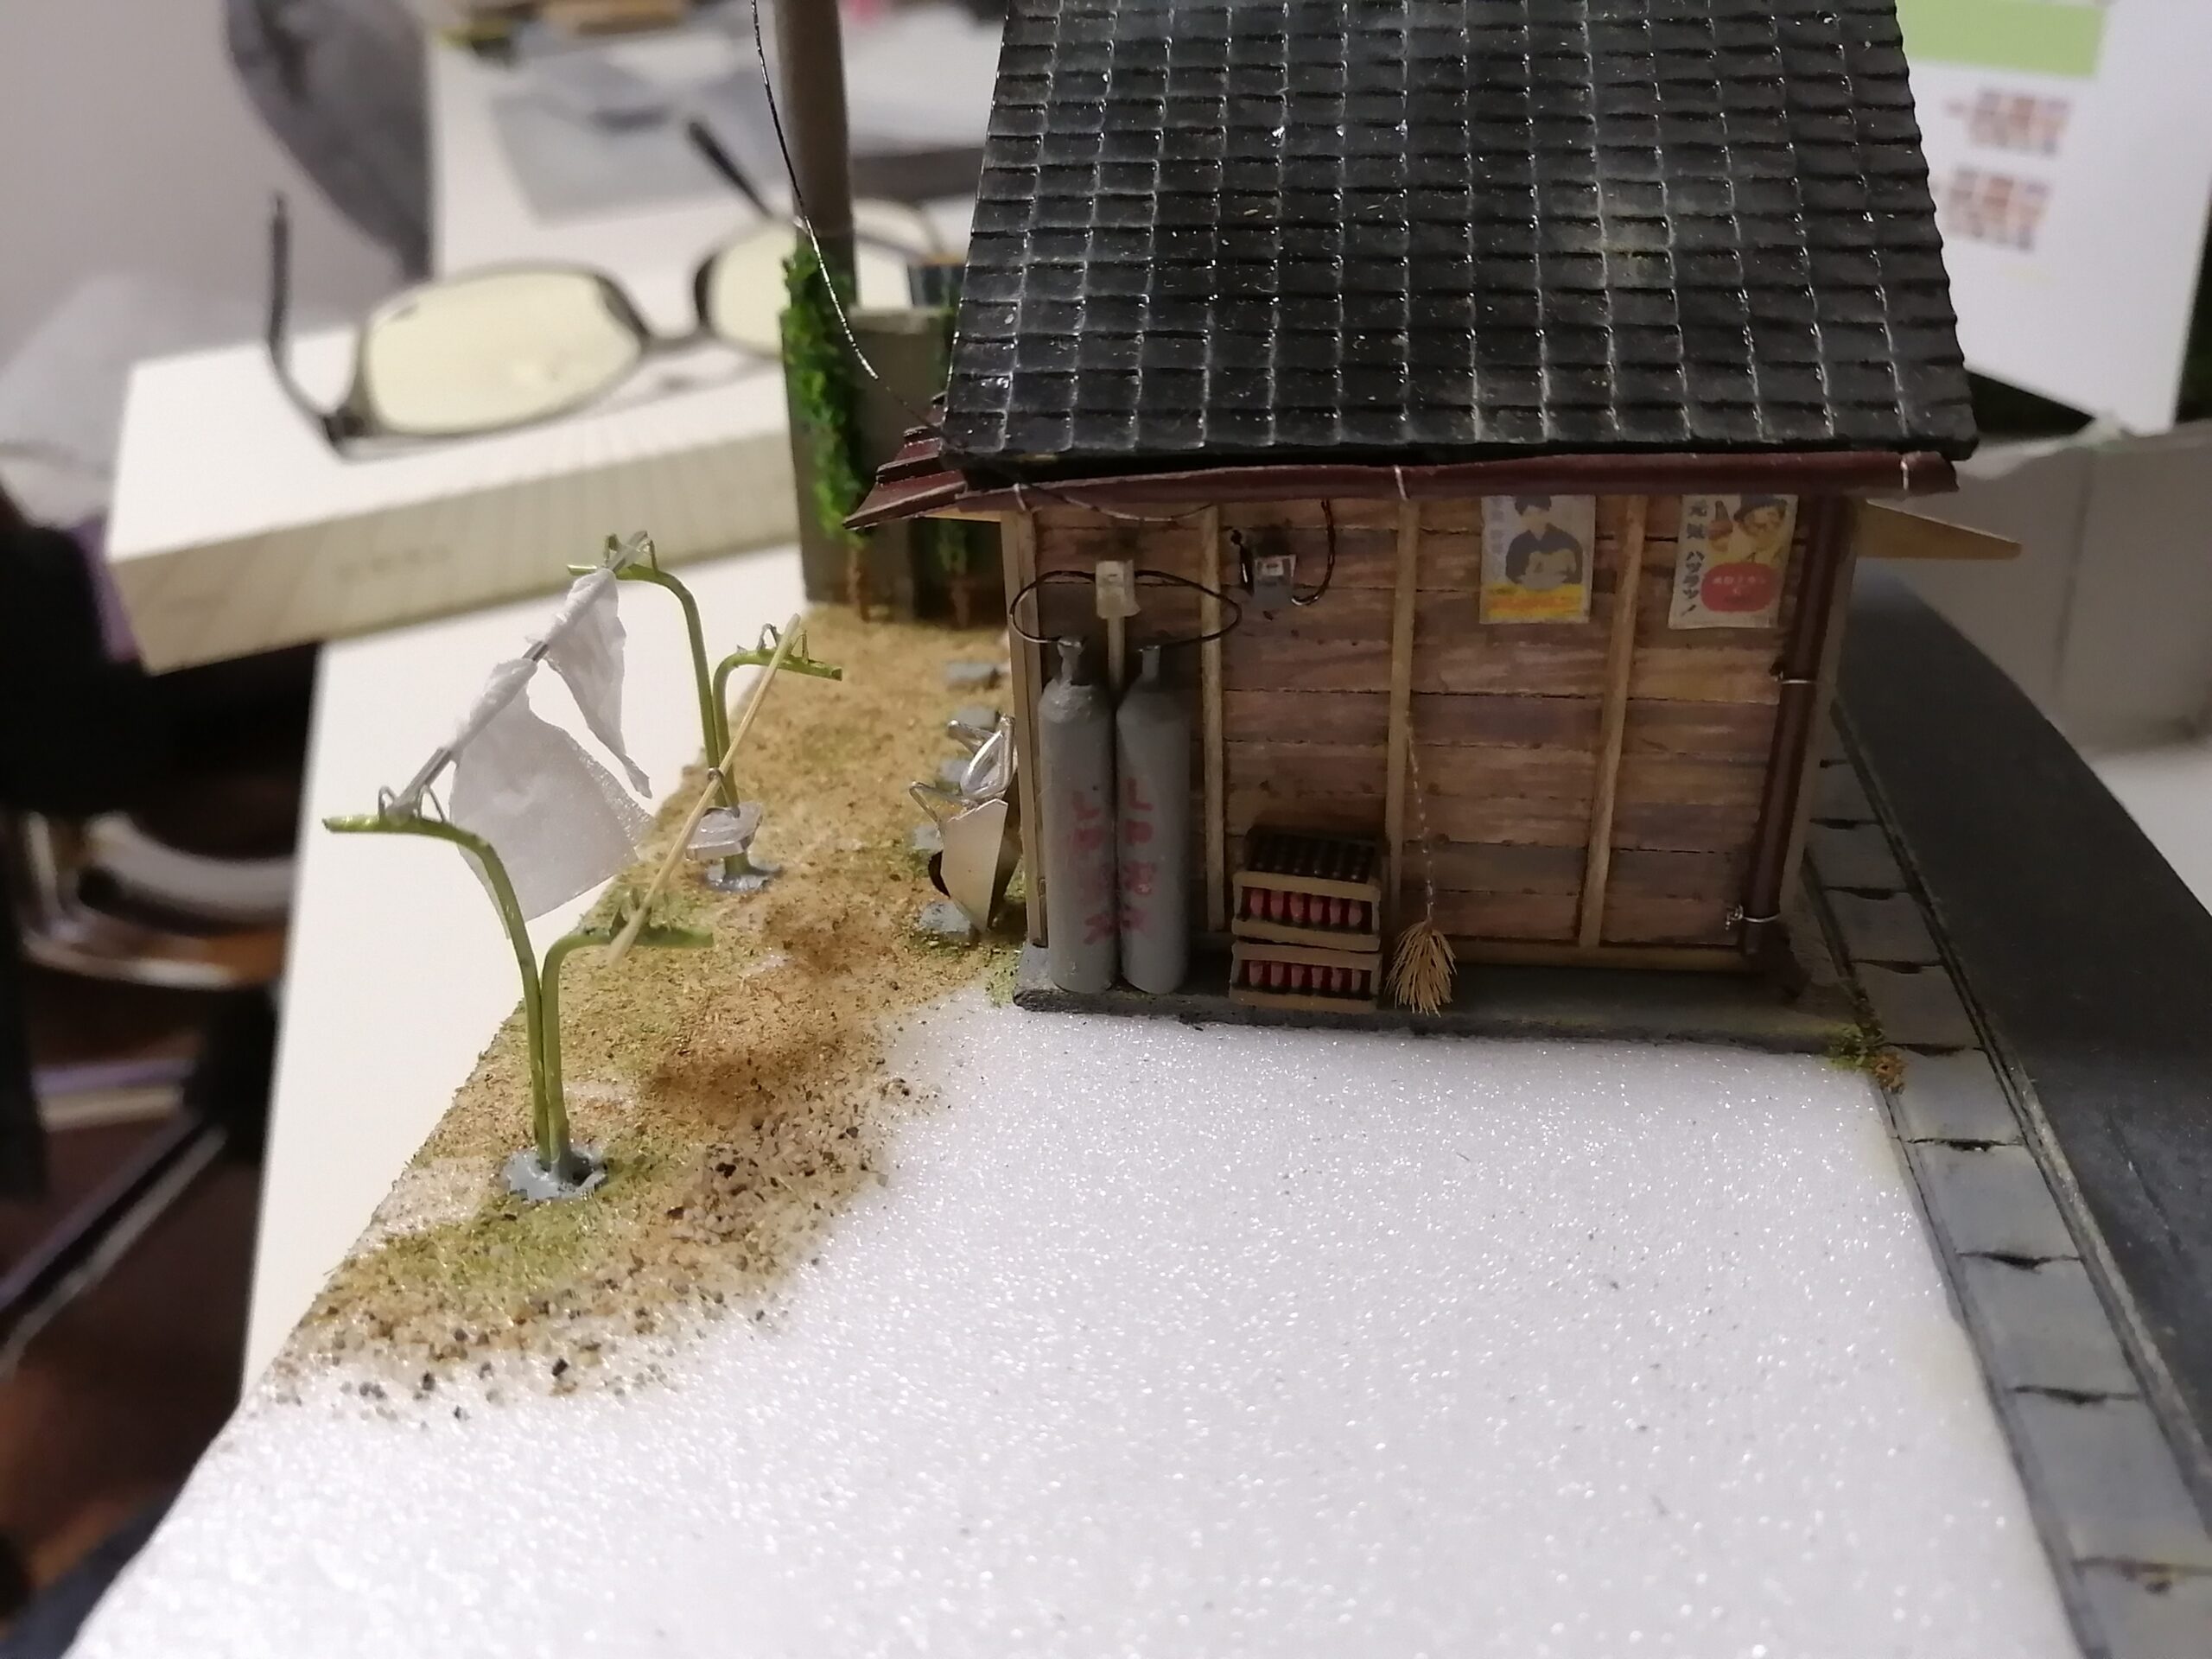
このU字溝は、ホワイトのカラーボードにデザインナイフで溝を作り、その溝に墨入れをして作っています。色は、ライトグレーで塗っています。
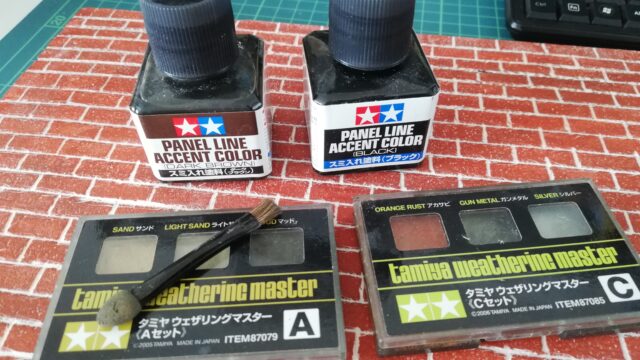
さらに、ウェザリングマスターなどでウェザリングを行い、溝に雑草や苔のような演出をして、それっぽく見せています。
This U-shaped groove is made by making a groove on a white color board with a design knife and inking the groove. The color is light gray.
In addition, weathering is performed with a weathering master, etc., and weeds and moss are produced in the groove to make it look like it.
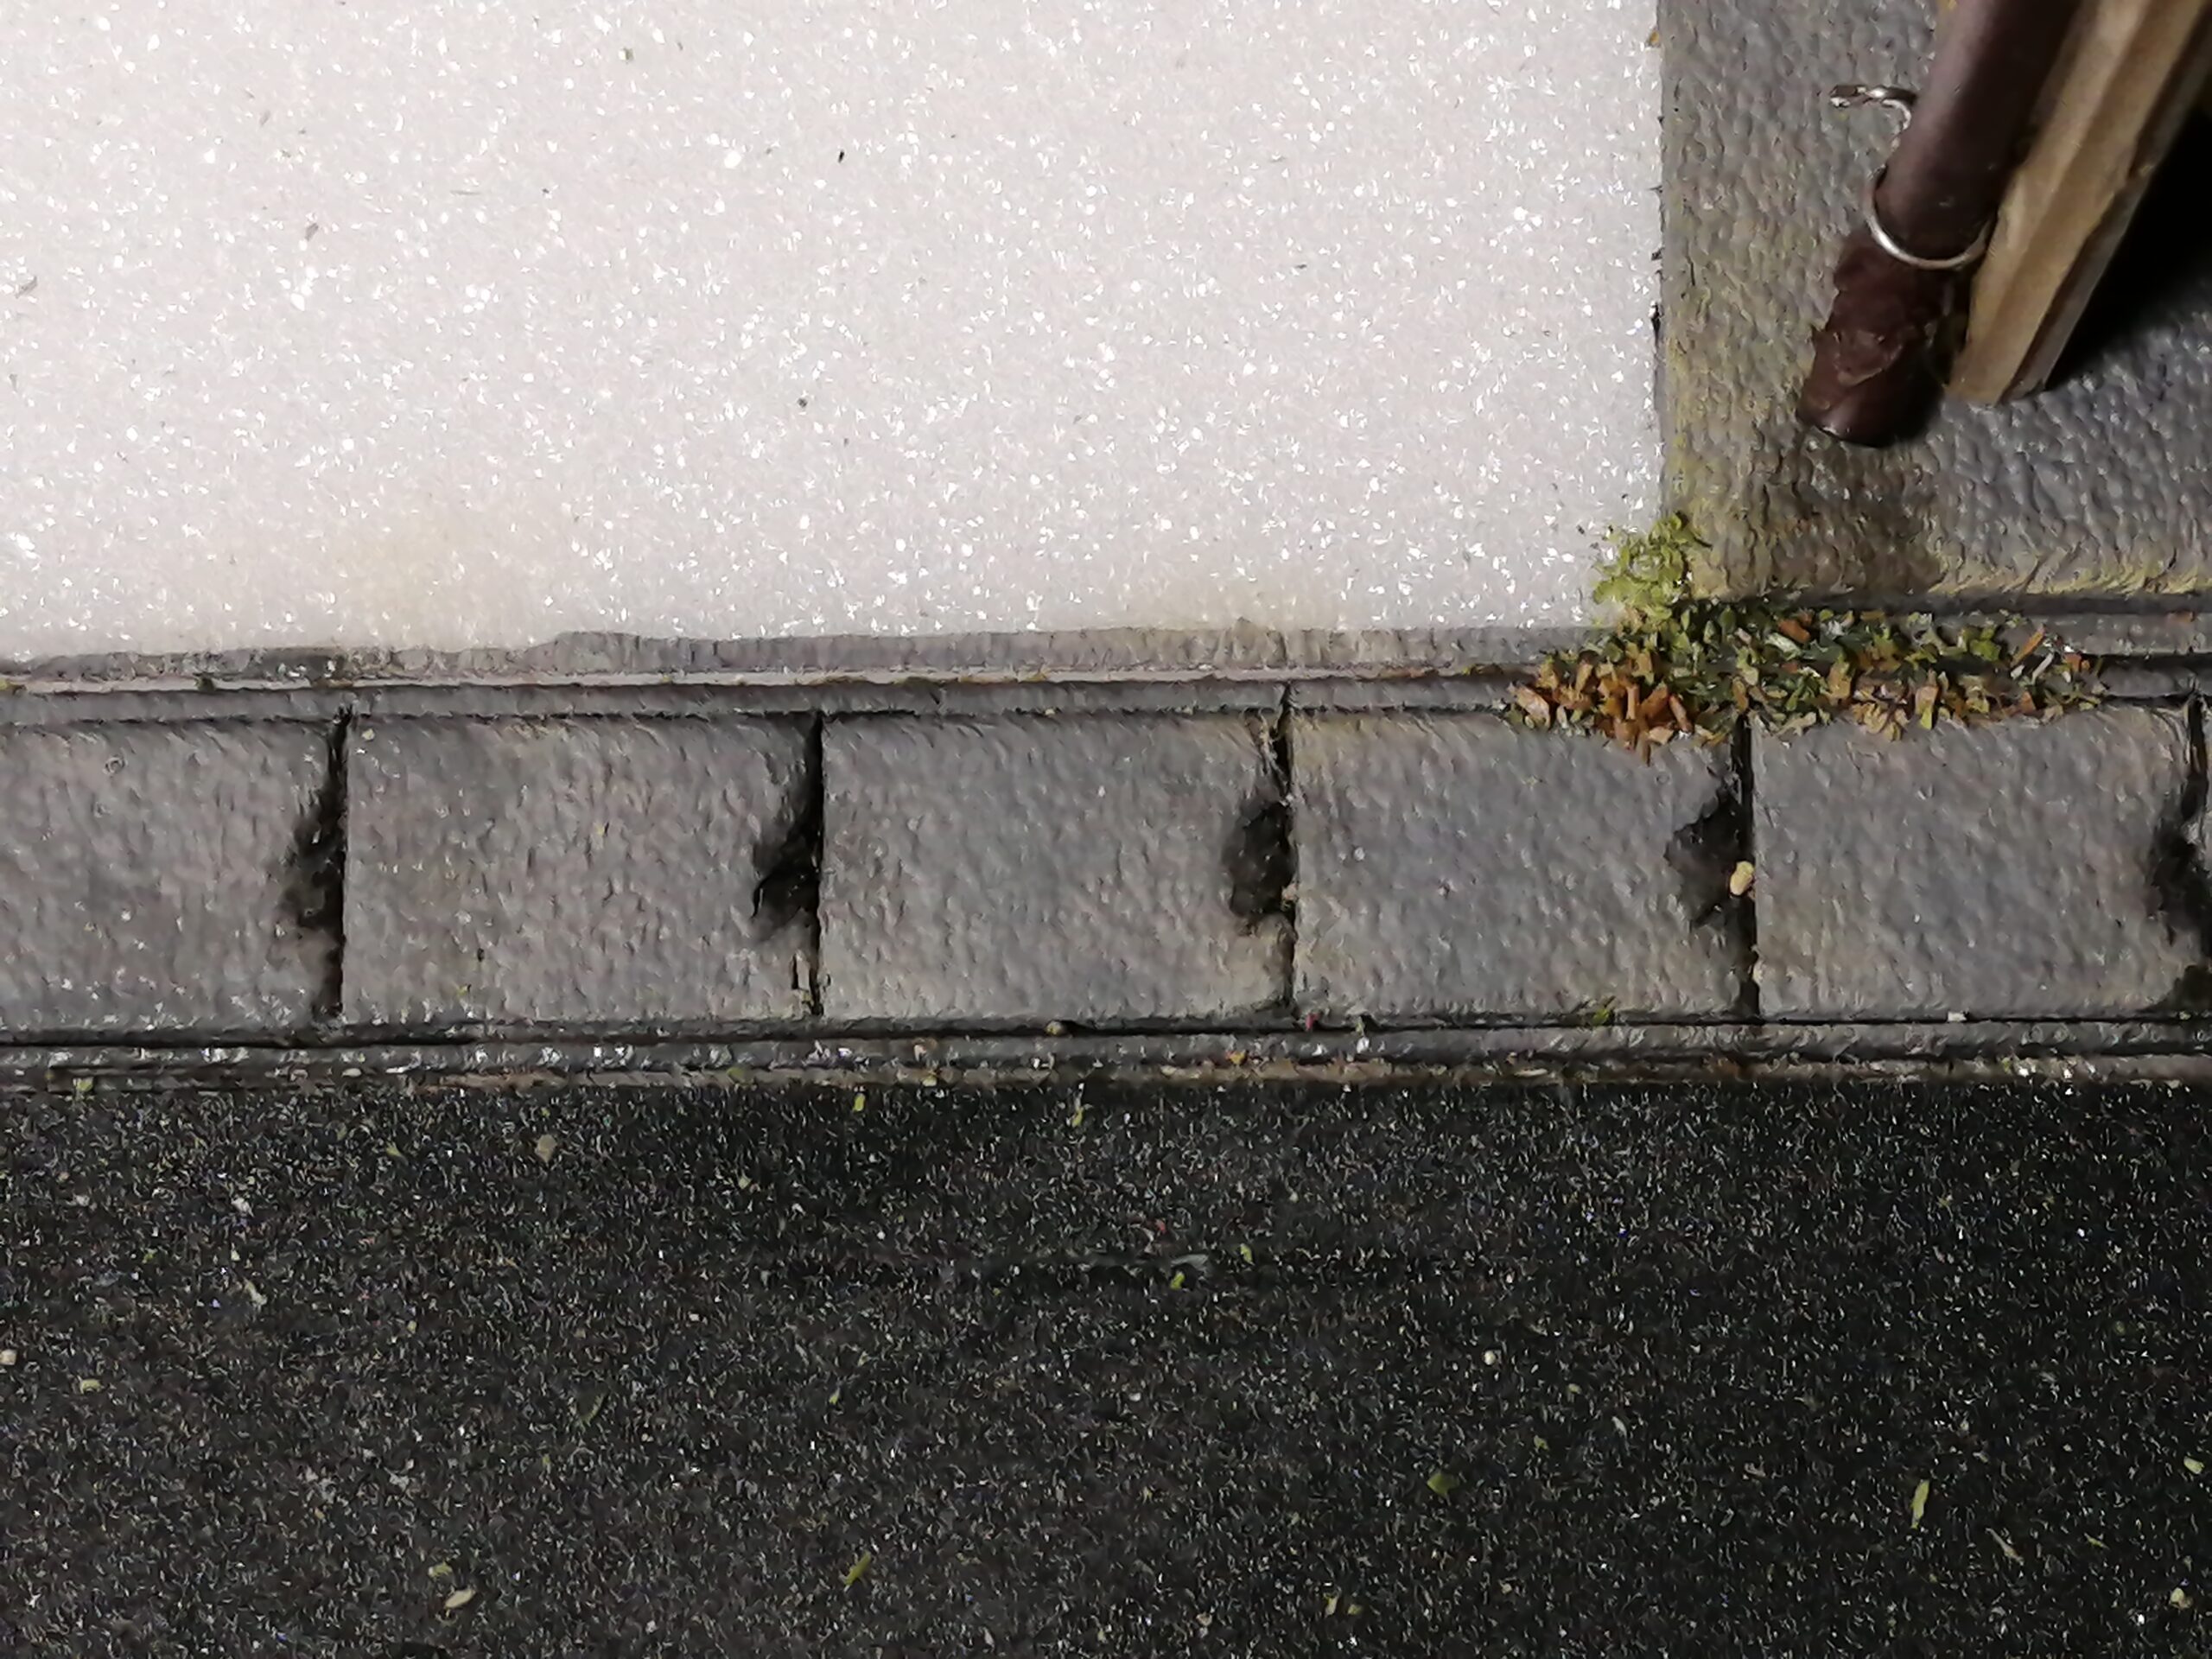
私のジオラマ模型は1/64サイズです。
下の写真のように、赤い矢印で挟まれた幅は、1mmあるかないかです。
そのため、デザインナイフで平行に線を引くのはとても大変です。
My diorama model is 1/64 size.
As shown in the picture below, the width between the red arrows is 1mm or not.Therefore, it is very difficult to draw parallel lines with a design knife.

今までは、定規をあて、慎重にデザインナイフを動かして溝を作っていました。
時には、引いた線が交わってしまうこともありました。
デザインナイフの刃には角度が付いているので、それを見越して平行に引くのはとても難しい作業でした。
また、カラーボードの色がホワイトなので、それも難しくさせる要因だったのかもしれません。
Until now, I used to use a ruler and carefully move the design knife to make a groove.Sometimes the lines I drew intersected.
Since the blade of the design knife is angled, it was a very difficult task to pull in parallel in anticipation of it.
Also, because the color of the color board is white, that may have been a factor that made it difficult.
デザインナイフの改良
Improvement of design knife

デザインナイフの刃を2枚合わせてみました。
普通に合わせただけだと、1mmあるかないかの幅が出ませんでしたので、レシートを一度折ってから2枚の刃の間に挟み固定しました。
デザインナイフをこのようにすることで、1回引くだけで、等間隔の平行の溝が作れるようになりました。作業時間も短縮され、きれいに仕上がるので気に入っています。
よかったら真似をしてみてください。便利です!
I tried to match two design knife blades.
If I just put it together normally, I couldn’t get a width of 1mm, so I folded the receipt once and then sandwiched it between the two blades and fixed it.
By pulling the design knife in this way, it is possible to make parallel grooves at equal intervals with just one pull. I like it because it shortens the work time and finishes beautifully.
Please try to imitate it if you like. Convenient!
